Step-by-step Molding & Casting Guide,Updated June 2026 · ~30 min hands-on
Quick Answer
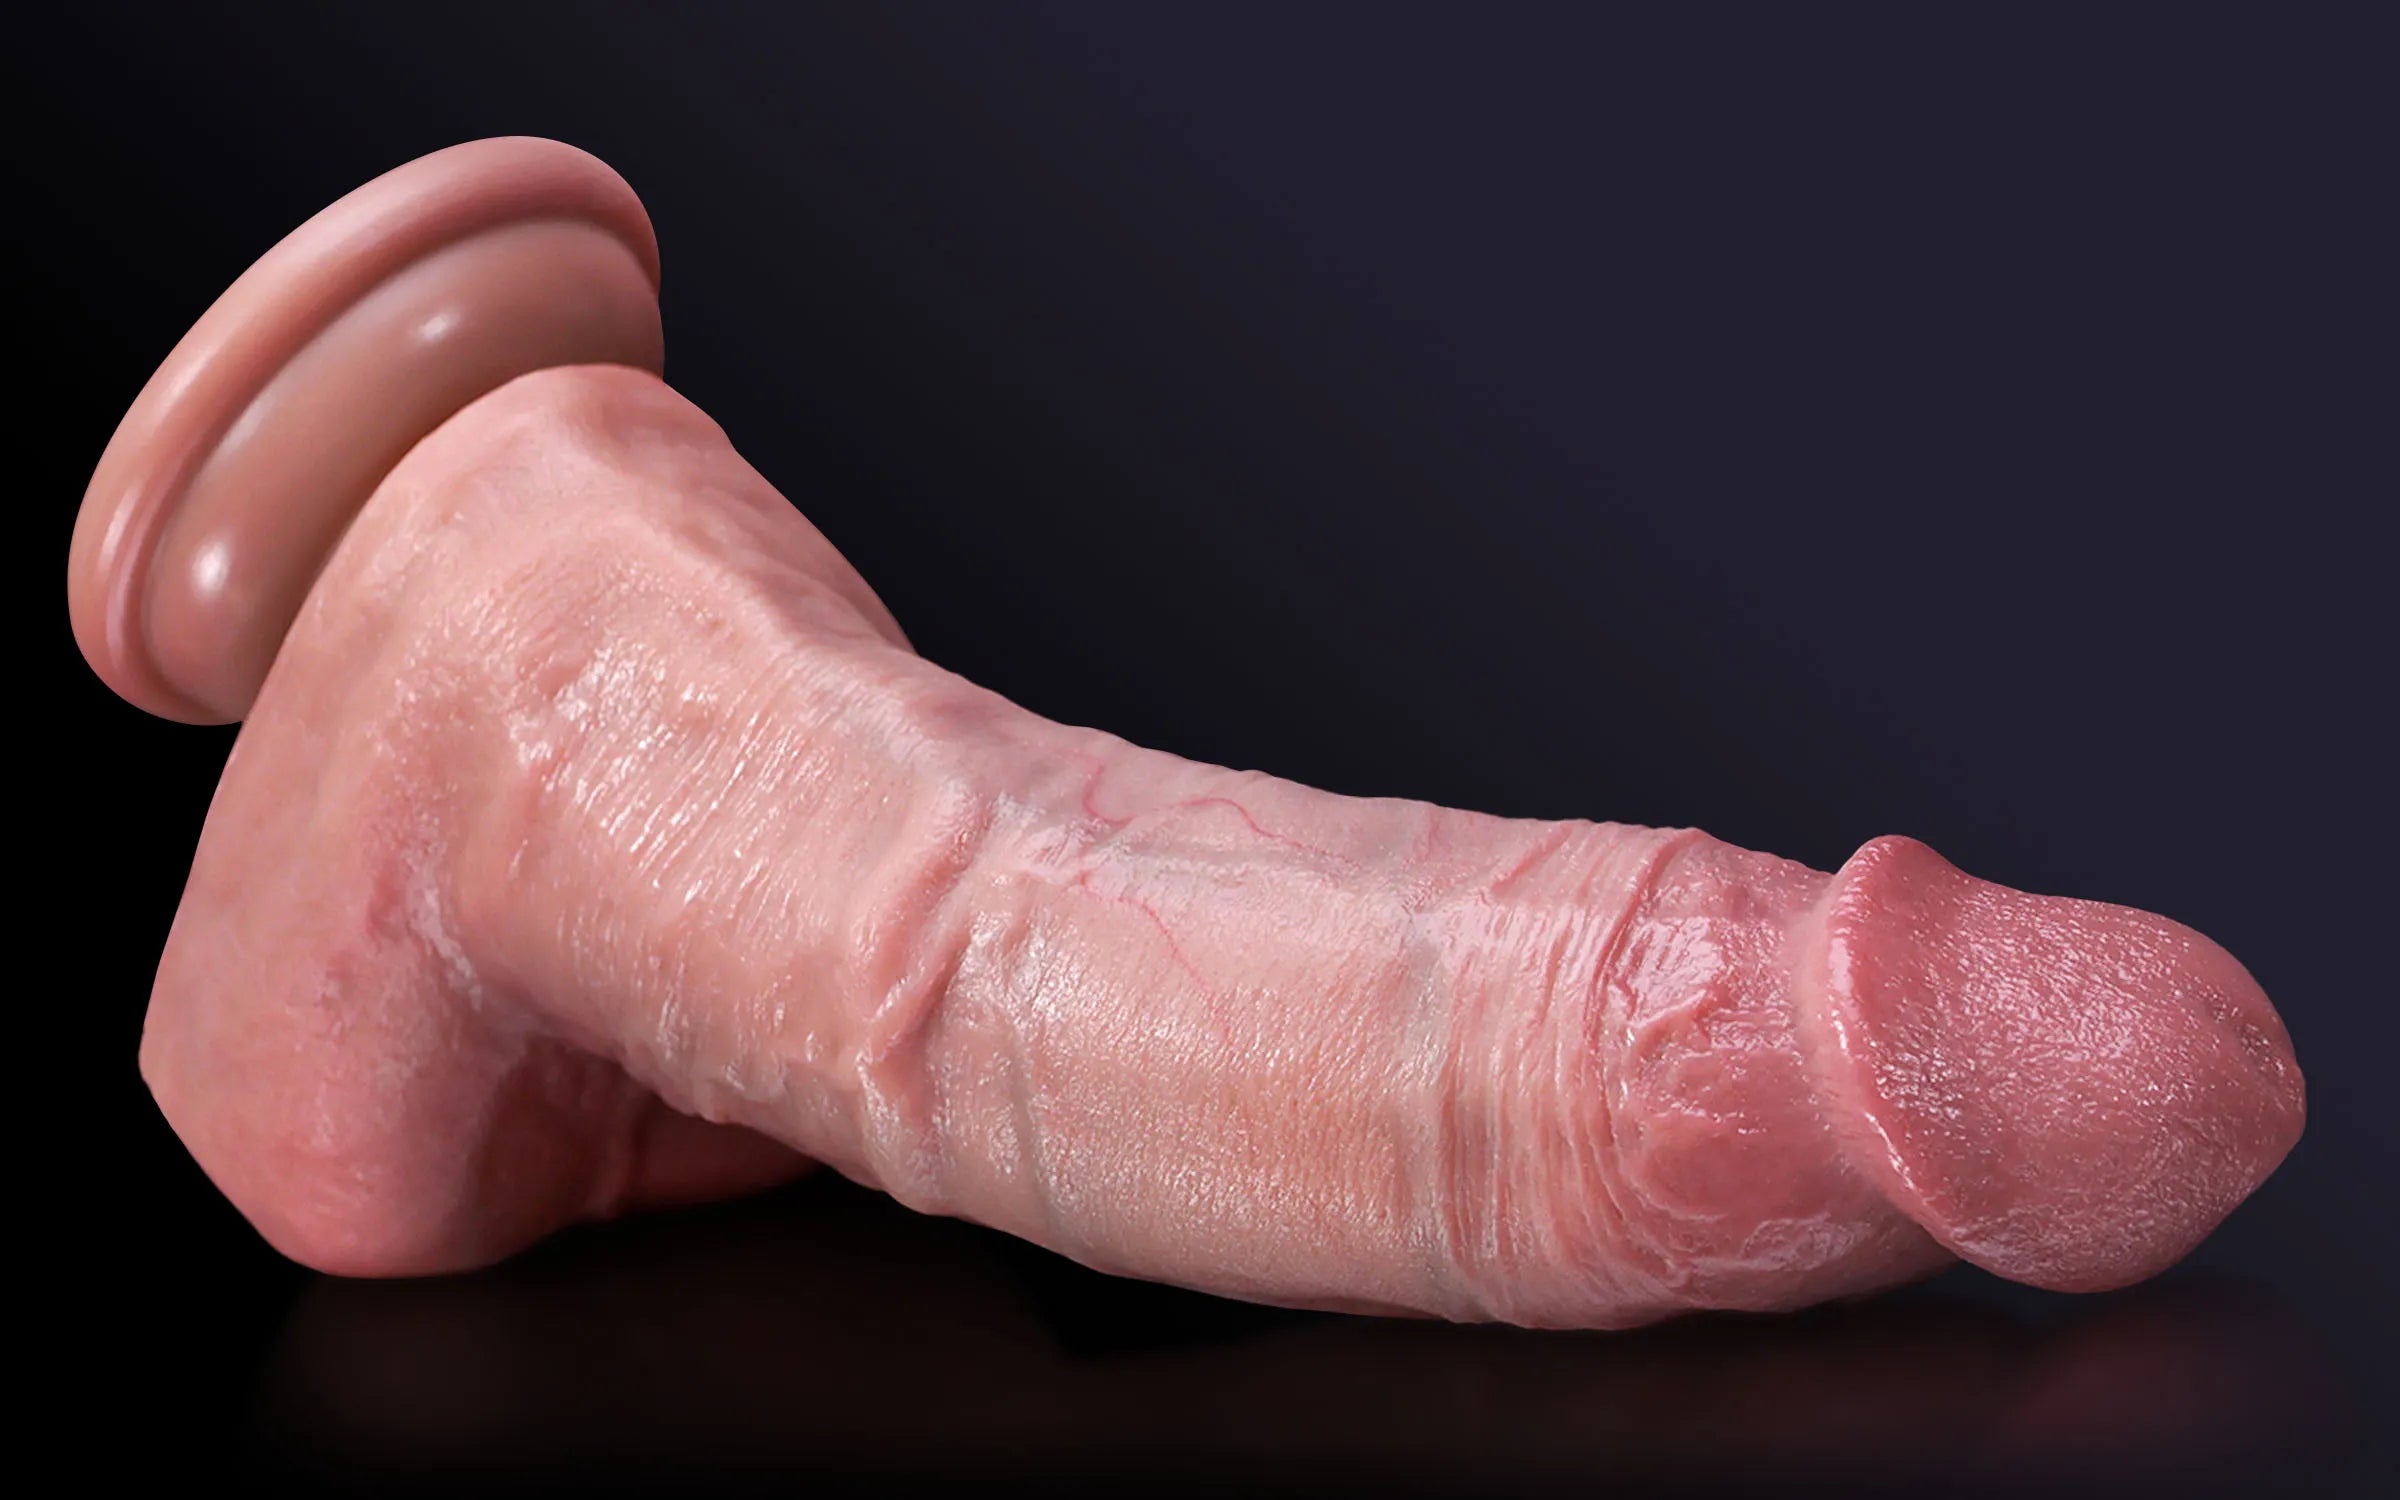
You make a realistic dildo by creating a mold, then casting it.
First, mix an alginate-based molding powder with water and pour it into a molding tube to capture an exact negative impression. Once that mold sets (about 3–5 minutes), mix and pour body-safe platinum-cure silicone into the cavity, let it cure for a few hours, then demold.
With a complete DIY cloning kit, it takes roughly 30 minutes of hands-on work plus curing time, and needs no special tools.
Below is the full walkthrough: the exact materials you need, the safety rules that actually matter, and the realism tips that separate a clean replica from a blobby first attempt.
Can You Really Make a Realistic Dildo at Home?
Yes.
The same impression-and-casting method used for special-effects props and dental molds works for body replicas.
Two materials do the heavy lifting:
Alginate (skin-safe molding powder)
-
The same fast-setting, skin-contact-safe material dentists use.
-
Captures fine detail down to skin texture.
-
Sets in minutes.
Platinum-cure (addition-cure) silicone
-
The body-safe rubber that becomes the finished dildo.
-
Soft, flexible, non-porous.
-
Rated for skin contact once fully cured.
A purpose-built DIY cloning kit bundles pre-measured powder, casting silicone, a molding tube, and mixing cups, so the ratios are done for you.
That removes the two things beginners get wrong most often:
-
Weighing the materials
-
Choosing a silicone that is actually safe for the body
What You Need
Required Materials
-
Skin-safe alginate molding powder (pre-measured)
-
Platinum-cure silicone, Part A and Part B (skin-tone)
-
A molding tube/cylinder sized to the casting
-
Two mixing containers
-
A whisk or spatula
-
Room-temperature water
Optional
-
Digital scale
-
Gloves
-
A vibrating bullet for a vibrating version
Step-by-Step
1. Prepare Your Workspace and Water
Work on a flat, level surface at room temperature (around 20–24 °C / 68–75 °F).
Stand the molding tube upright and stable, and measure your water first.
Key Detail
Water temperature is your timing dial:
-
Cooler water = longer working time
-
Warmer water = faster set
2. Mix the Molding Powder
Add the alginate powder to the water (not water to powder) and whisk briskly until smooth and lump-free — about 30–45 seconds.
It should look like a thick milkshake.
3. Pour the Mold and Take the Impression
Pour the alginate into the tube, insert the subject straight down, and hold still.
It firms up in 3–5 minutes.
Once it springs back, withdraw slowly and straight up.
4. Mix the Casting Silicone
Combine equal parts of Part A and Part B.
Stir gently for 2–3 minutes, scraping the sides and bottom so there are no unmixed streaks.
5. Cast and Cure
Pour into the cavity in one steady stream.
For a vibrating version, set a waterproof bullet in before it skins over.
Leave undisturbed for the full cure time (usually a few hours).
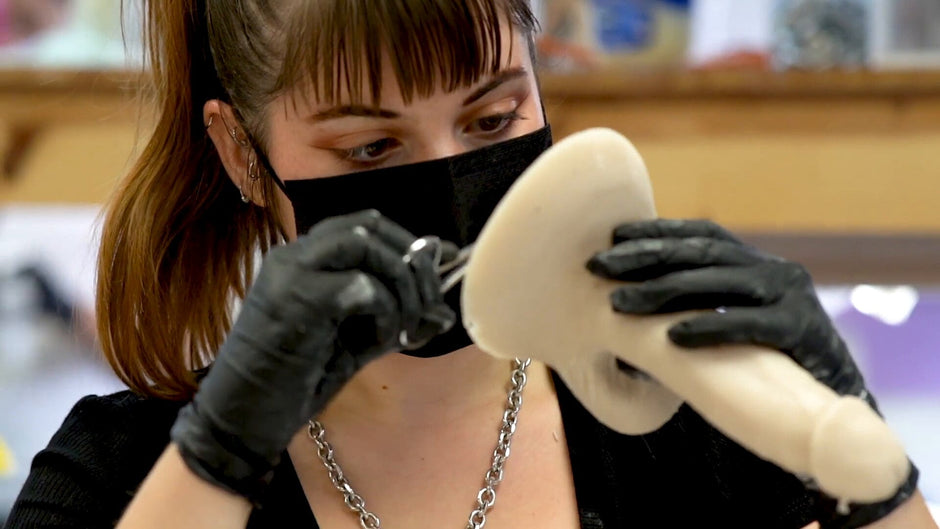
6. Demold and Finish
-
Peel away the alginate.
-
Trim any flashing at the base.
-
Rinse with warm water and mild soap.
Body-Safe Materials (Don't Skip This)
Use only platinum-cure (addition-cure) silicone, or a kit explicitly labeled body-safe.
Why Platinum Silicone?
-
Non-porous
-
Inert
-
Won't harbor bacteria
-
Won't leach chemicals once cured
Avoid
-
Tin-cure silicone
-
Latex caulk
-
Hardware-store sealants
-
Resins
-
PVC/jelly blends
These can contain catalysts, solvents, or plasticizers not meant for skin/internal contact.
Important
Only use the piece after the full cure time.
Undercured silicone stays tacky and irritating.
Make It Look and Feel More Realistic
Capture Detail at the Mold Stage
A clean, bubble-free, well-timed impression is everything.
Use a Softening Additive
If your kit includes one, use it.
Tissue is softer than straight platinum silicone.
Add Skin-Tone Pigment
Blend pigment into the silicone before pouring.
A tiny amount goes a long way.
Use a Flared or Suction Base
Cast in a flared or suction base for safe use and positioning.
Cleaning and Storage
Cleaning
Wash before and after every use with:
-
Warm water
-
Mild, fragrance-free soap
Sanitizing
Silicone is non-porous and can be sanitized.
Allow it to air-dry fully before storing.
Storage
Store in a clean, dry pouch or box, away from other silicone items.
Lubricant Compatibility
Use water-based lubricant only.
Silicone lubricant can degrade silicone over time.
FAQ
How long does it take?
~30 min hands-on plus several hours of curing.
Is it safe?
Yes, with body-safe platinum-cure silicone, fully cured.
What silicone?
Platinum-cure (addition-cure).
Vibrating version?
Yes — embed a waterproof bullet before curing.
Special tools or experience?
No.
A complete kit includes everything.
Why a kit?
It handles the A/B ratio and guarantees body-safe material.
The Bottom Line
It comes down to two steps:
-
Take a fast, detailed alginate impression.
-
Cast body-safe platinum silicone into it and cure.
Detail is won at the molding stage.
Safety lives in your silicone choice.
A complete kit handles the measuring and material safety for you.
© 2026 [Realcockx]
For adults 18+.
This guide is informational; follow all kit instructions and safety warnings.